Priorities Configuration
The Priorities Configuration section allows you to manage and configure priorities that can be assigned to vendors for classification purposes. Priorities help categorize and classify vendors based on their trustworthiness, performance, and results. These priorities are internal to the agency and are not visible to vendors.
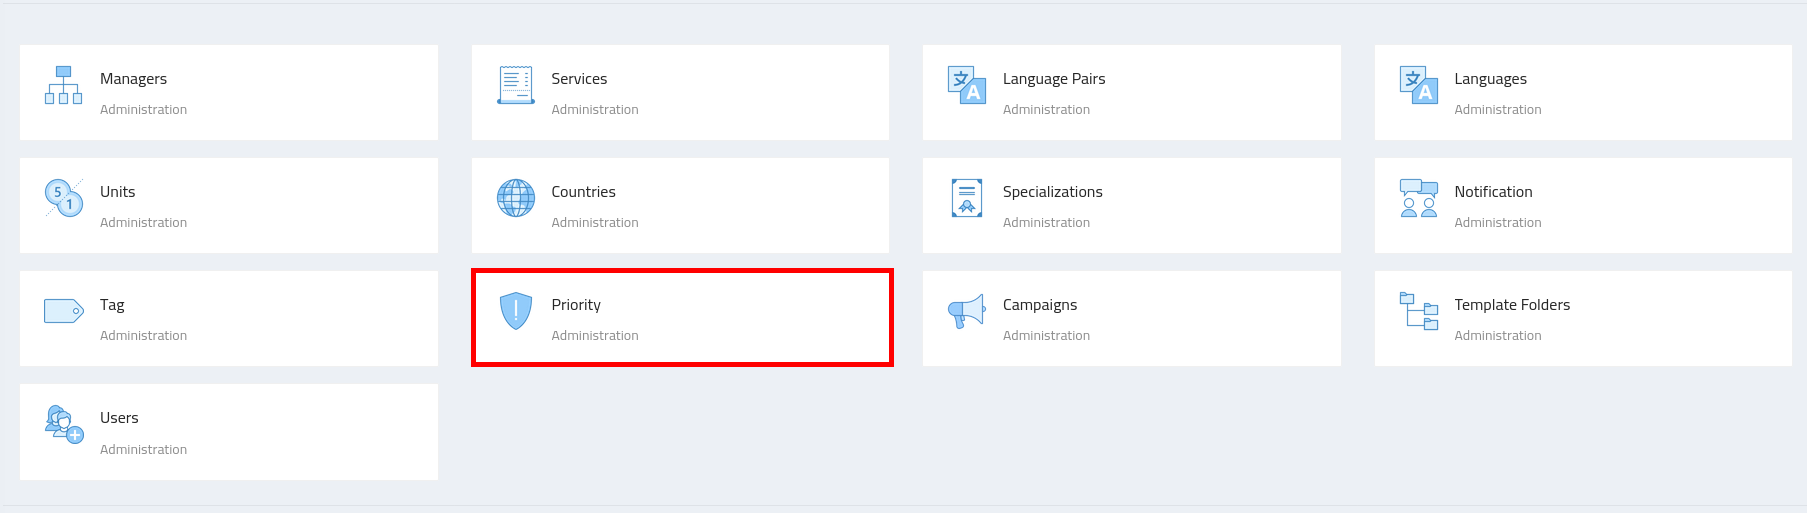
Configuring Priorities
-
Navigate to the admin section, where you’ll find the "Priorities" configuration.
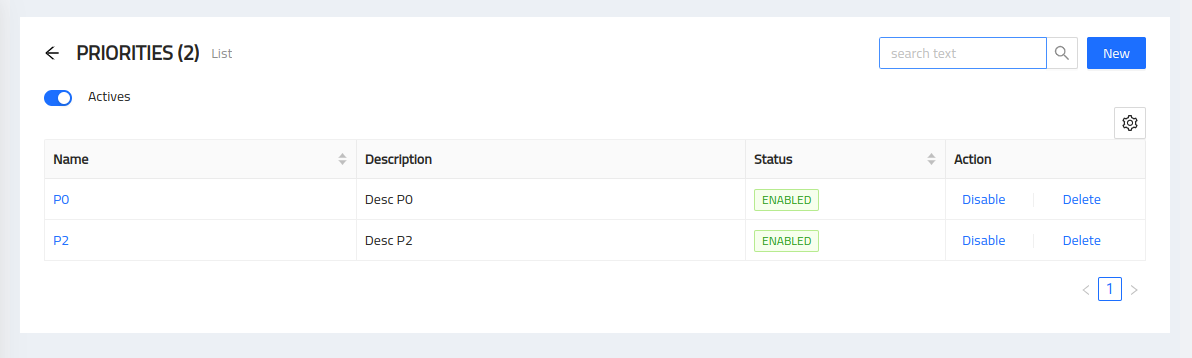
Adding a Priority
To add a new priority, follow these steps:
-
Click on the "Add Priority" button.
-
Enter the name or title of the priority.
-
Set any additional attributes or criteria for the priority.
-
Save the priority.
Editing a Priority
To edit an existing priority, follow these steps:
-
Locate the specific priority you want to modify.
-
Click on the "Edit" button next to the priority.
-
Update the name, attributes, or criteria of the priority.
-
Save the changes.
Removing a Priority
To remove a priority, follow these steps:
-
Locate the specific priority you want to remove.
-
Click on the "Remove" button next to the priority.
-
Confirm the removal when prompted.
Assigning a Priority to a Vendor
After creating the priorities, you can assign them to vendors to classify and prioritize them based on their trustworthiness and performance. These priorities help agency managers in making informed decisions when assigning vendors to jobs.
To assign a priority to a vendor:
-
Navigate to the Vendor section.
-
Select the vendor you wish to assign a priority to.
-
Choose the relevant priority from the available list.
-
Save the changes.
Note: Priorities are internal classifications used for managing and organizing vendors within the system. They are not visible to vendors and are meant for agency managers' reference and decision-making purposes.