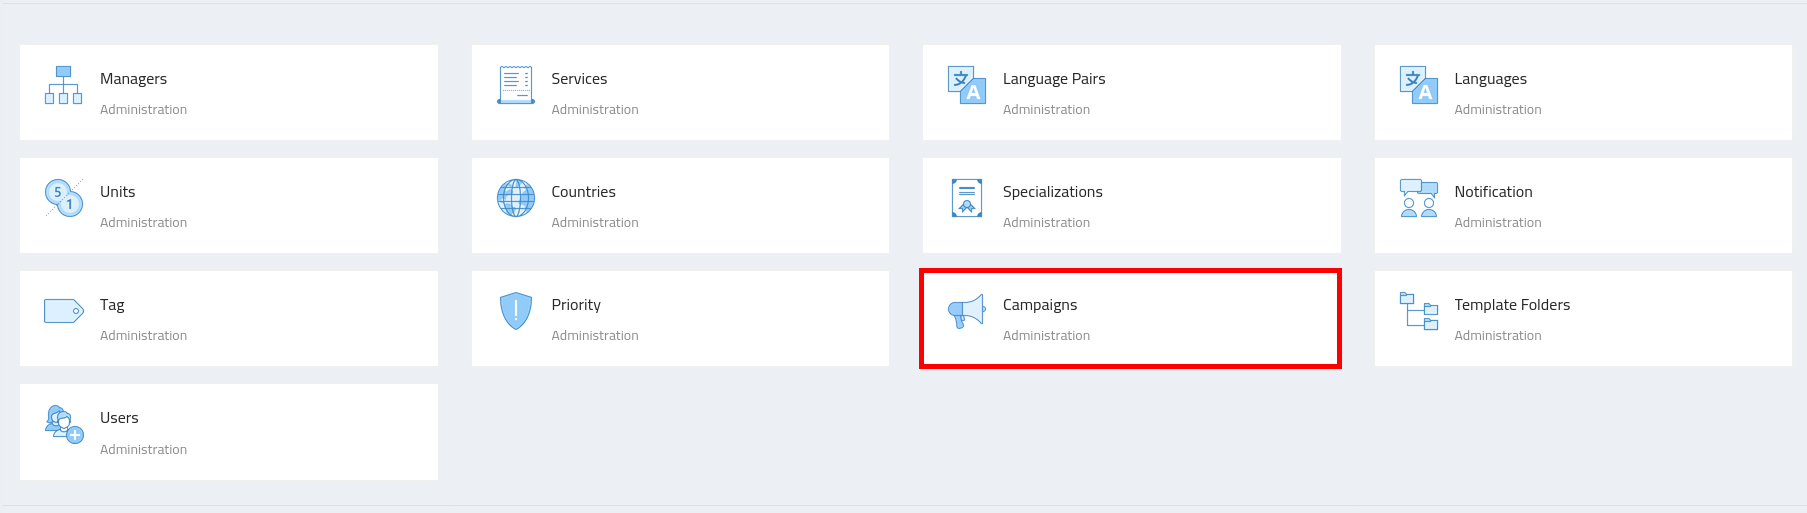
Campaigns
Campaigns are a way for agencies to attract potential vendors by creating public opportunities for them to apply and upload their information. In this section, you can manage your campaigns, including creating new ones, editing existing campaigns, and removing campaigns.
Configuring Campaigns
-
Navigate to the Admin section, where you’ll find the "Campaigns" configuration.
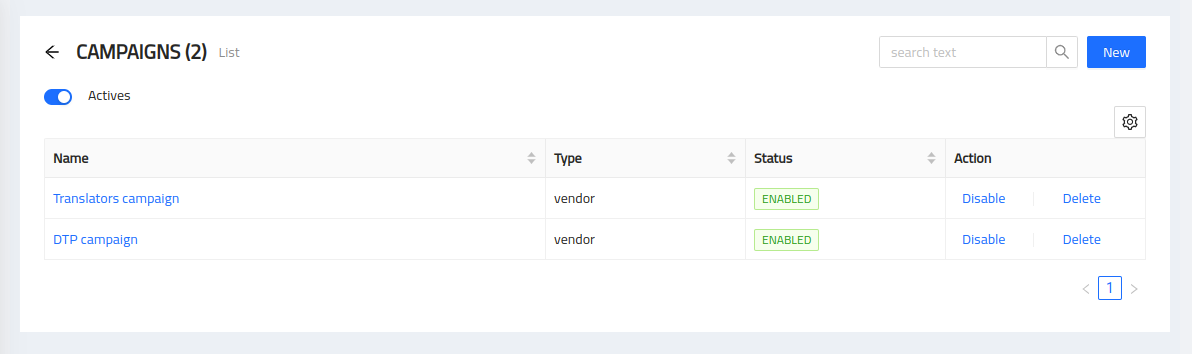
Creating a Campaign
To create a campaign, follow these steps:
-
Click on the "Create Campaign" button.
-
Enter a name for your campaign.
-
Select the allowed services for the campaign (e.g., translation, editing, proofreading).
-
Save the campaign.
Editing a Campaign
To edit a campaign, follow these steps:
-
Locate the campaign you want to edit in the list of existing campaigns.
-
Click on the "Edit" button next to the campaign.
-
Update the campaign name or modify the allowed services.
-
Save the changes.
Removing a Campaign
To remove a campaign, follow these steps:
-
Locate the campaign you want to remove in the list of existing campaigns.
-
Click on the "Remove" button next to the campaign.
-
Confirm the removal when prompted.
Sharing the Campaign
Once you have created a campaign, you can share it with potential vendors by providing them with the public link. The public link allows vendors to access the campaign page and upload their information directly.
To share the campaign:
-
Go to the campaign details page.
-
Copy the public link provided.
-
Share the link with vendors via social media, email, or any other preferred method.